Perspective references with the camera written on them.
36 scenes rendered from the same camera model as the tools: rooms, streets, crowds, cars, heads, and the same objects at different lenses and heights. Every one says what lens, what camera height and what angle it was drawn at, and opens in the tool so you can move the camera yourself.
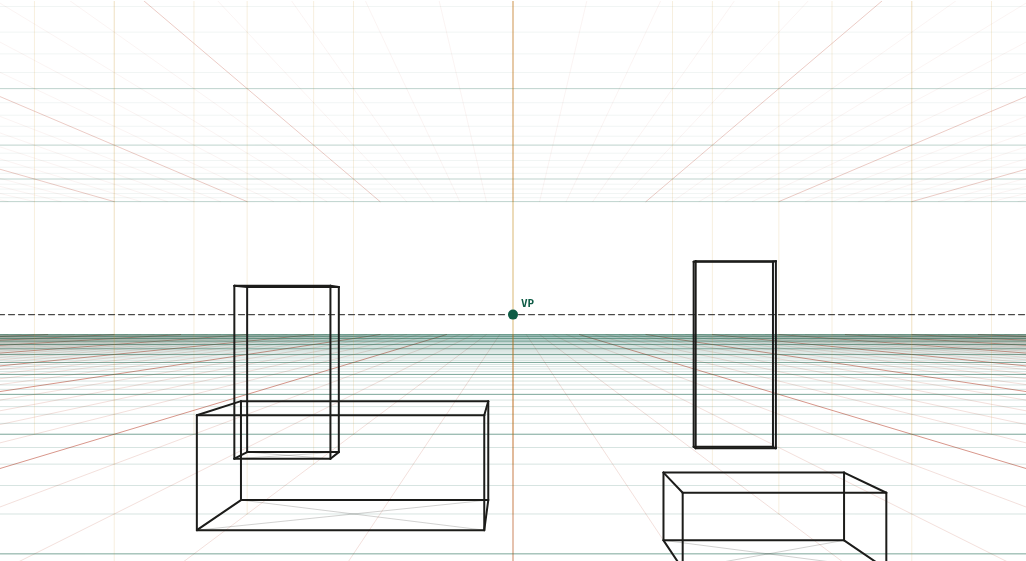 Living room, one-point28 mm · camera 1.5 m · straight on · level
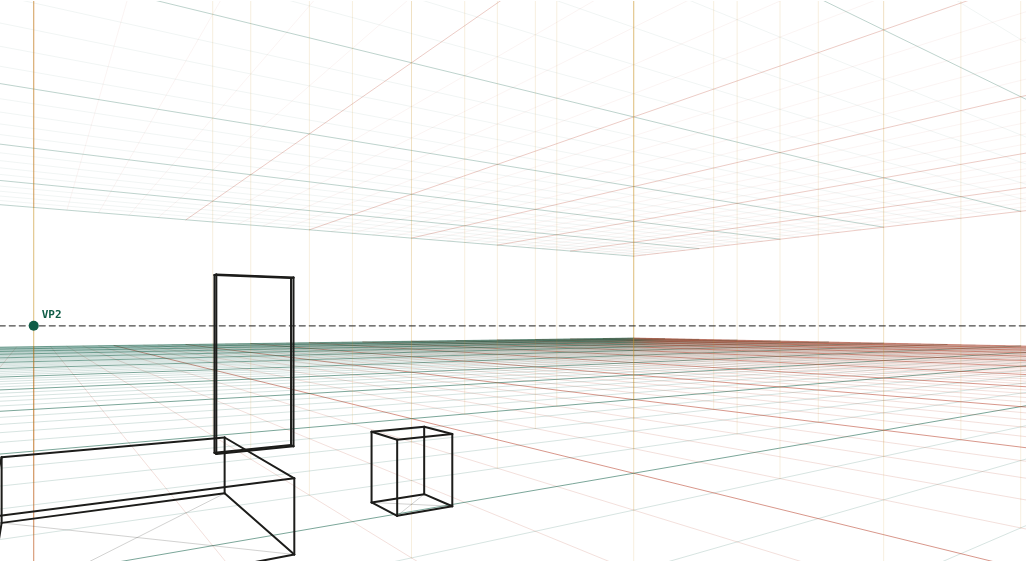 Bedroom, two-point24 mm · camera 1.5 m · turned 35° · level
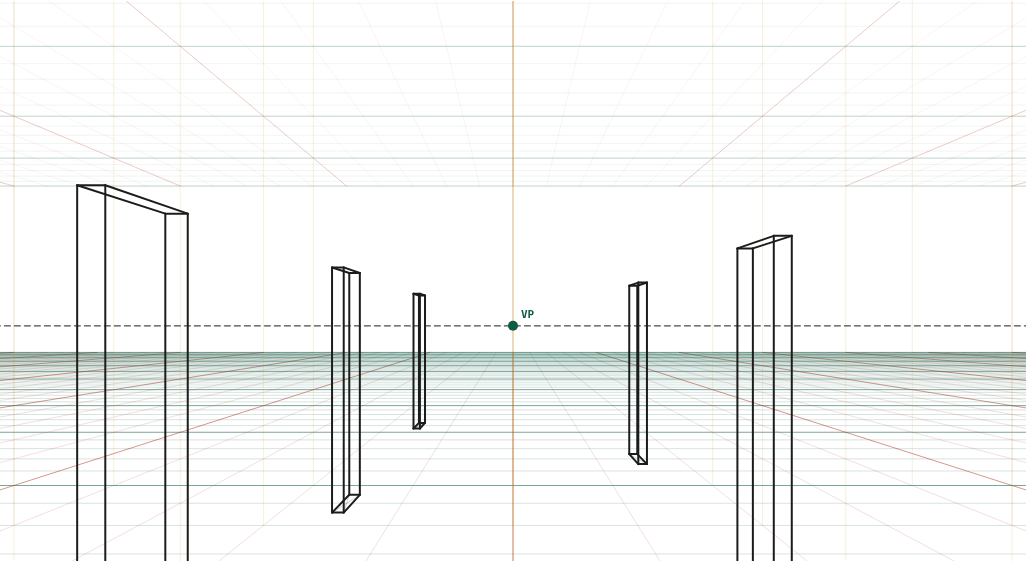 Corridor with doors35 mm · camera 1.6 m · straight on · level
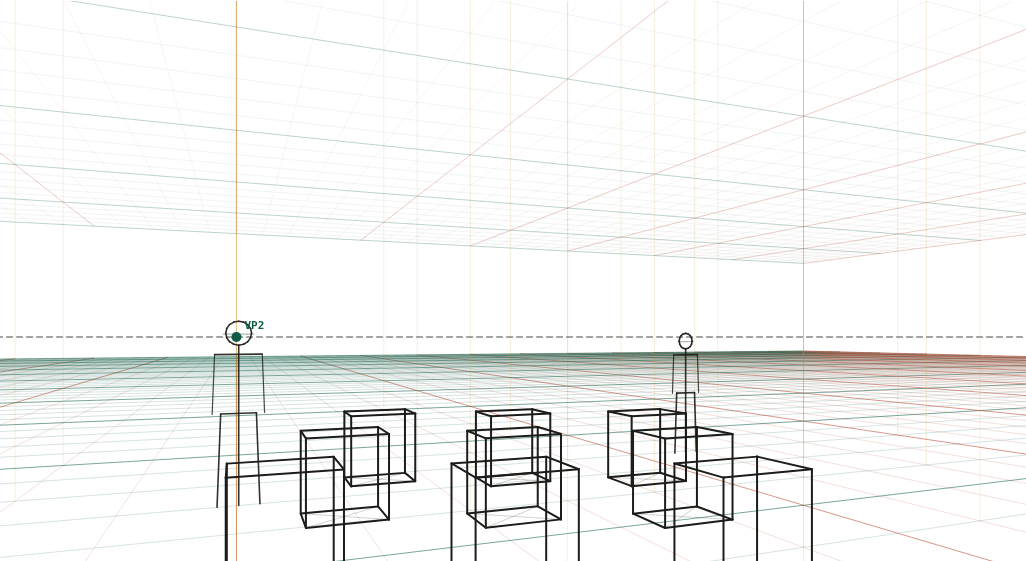 Classroom, rows of desks24 mm · camera 1.6 m · turned 22° · level
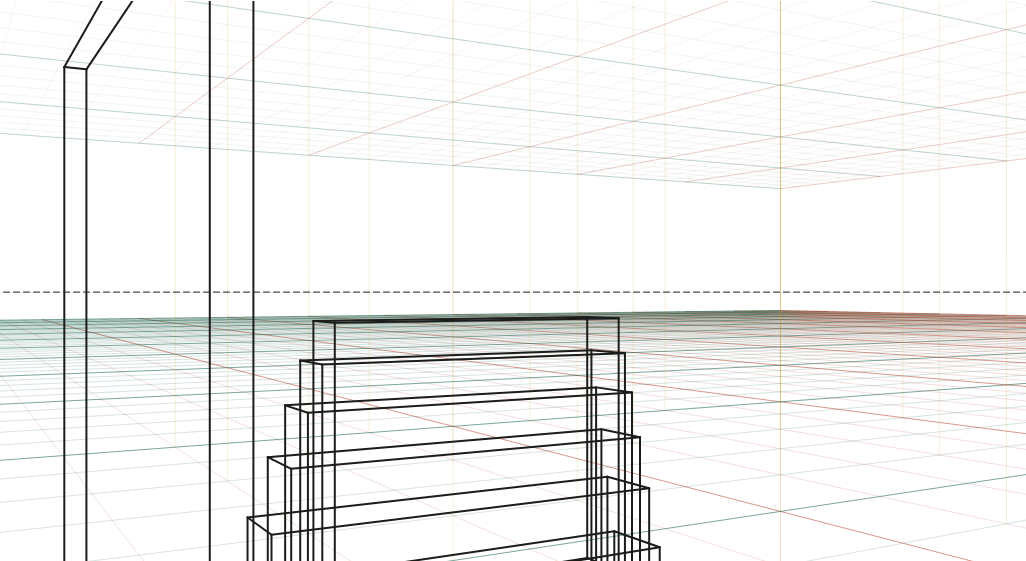 Staircase, two-point35 mm · camera 1.5 m · turned 30° · level
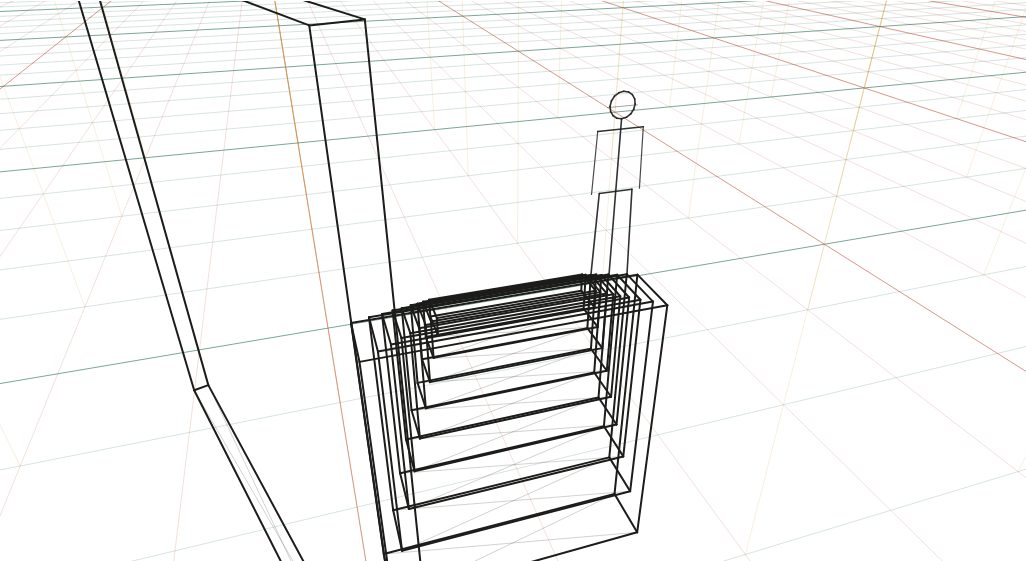 Stairs from the landing above24 mm · camera 3.2 m · turned 18° · tilted down 30°
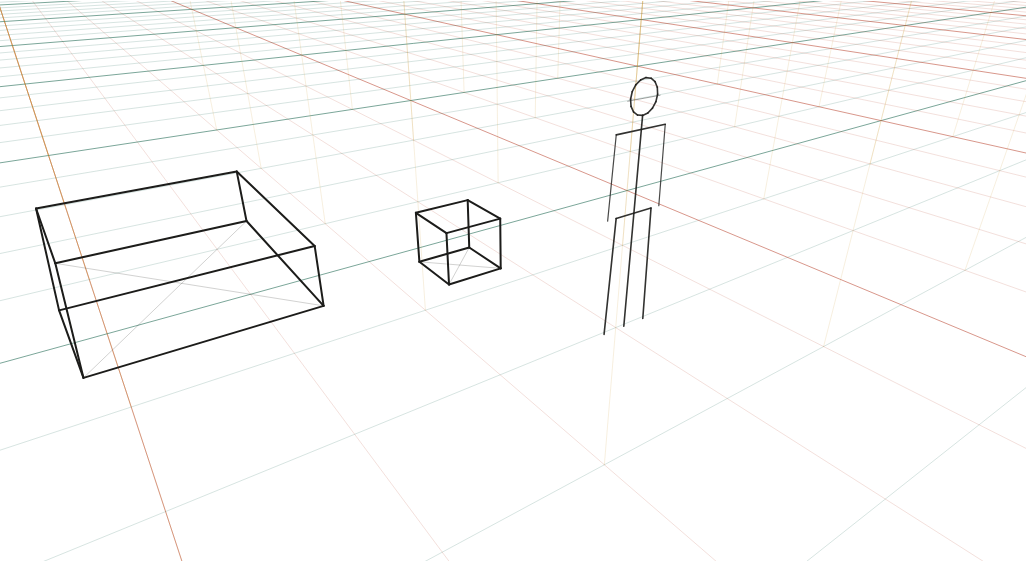 Room from a high corner24 mm · camera 2.6 m · turned 35° · tilted down 28°
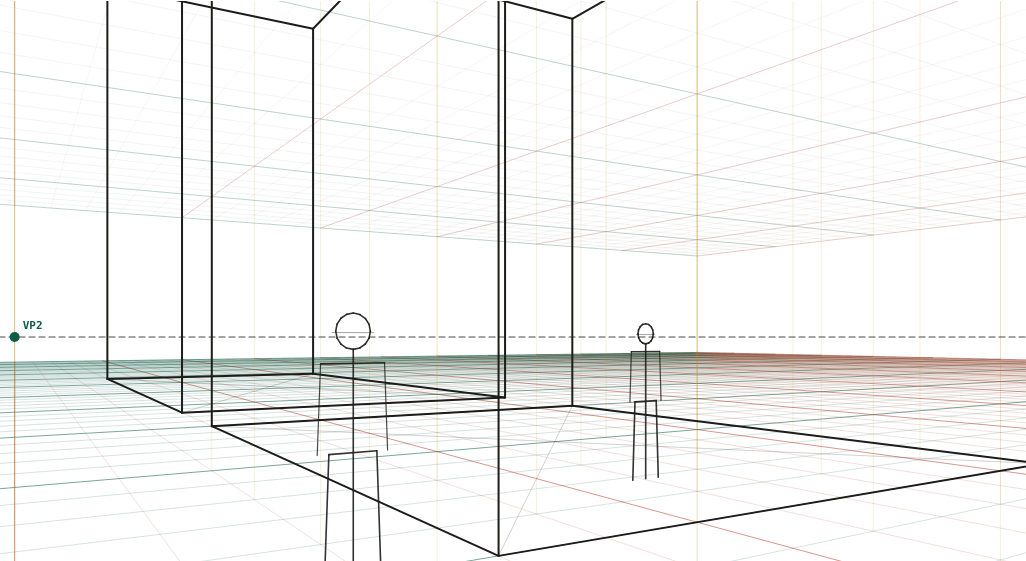 City street, two-point28 mm · camera 1.6 m · turned 32° · level
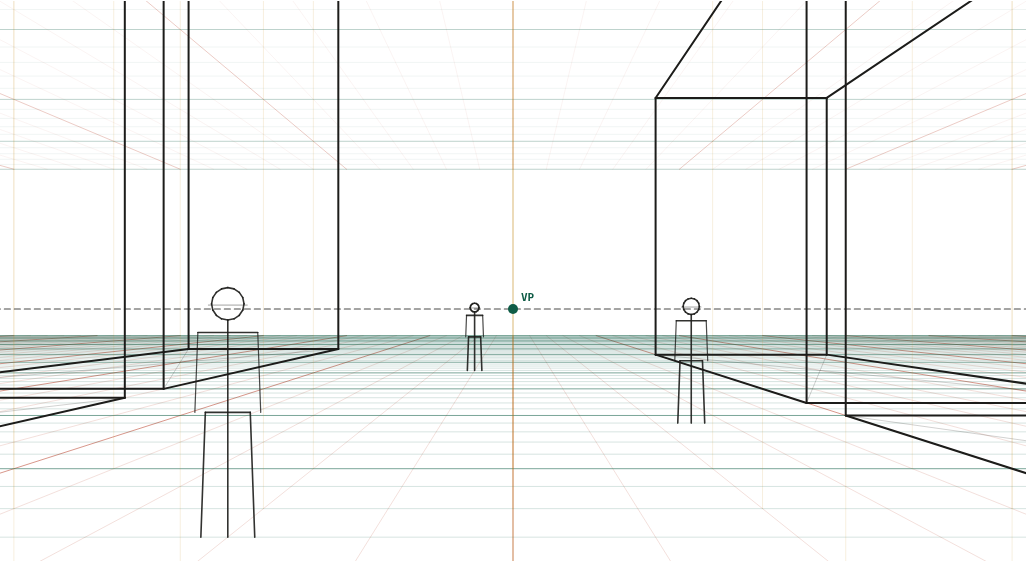 Avenue, one-point35 mm · camera 1.6 m · straight on · level
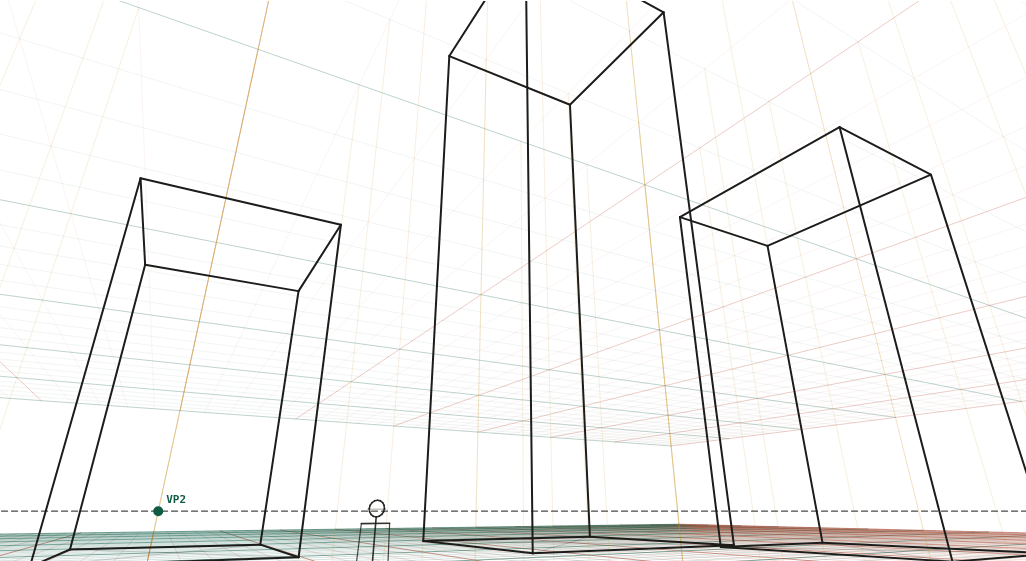 Tower from the street20 mm · camera 1.6 m · turned 30° · tilted up 22°
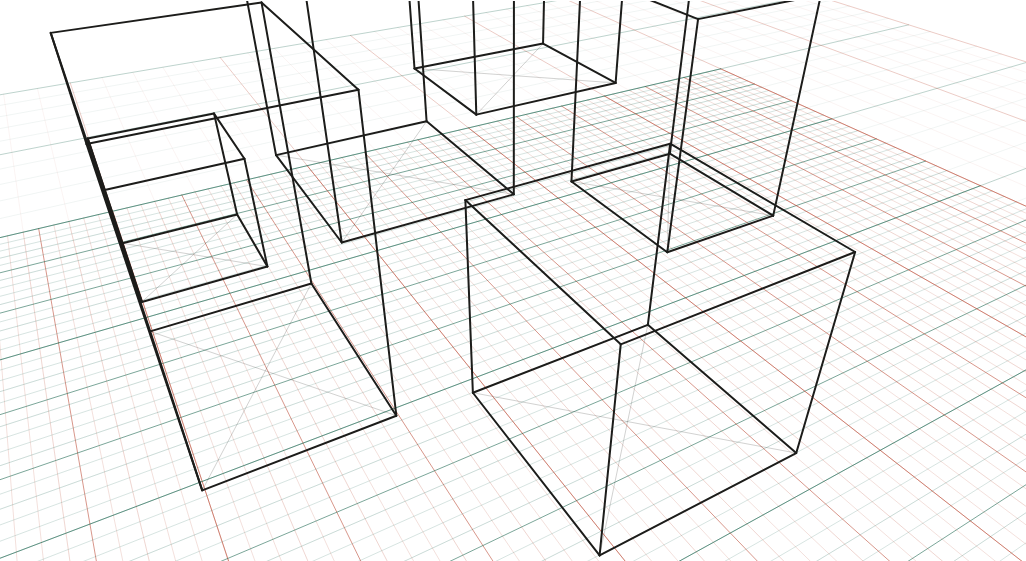 City from a rooftop28 mm · camera 40 m · turned 30° · tilted down 35°
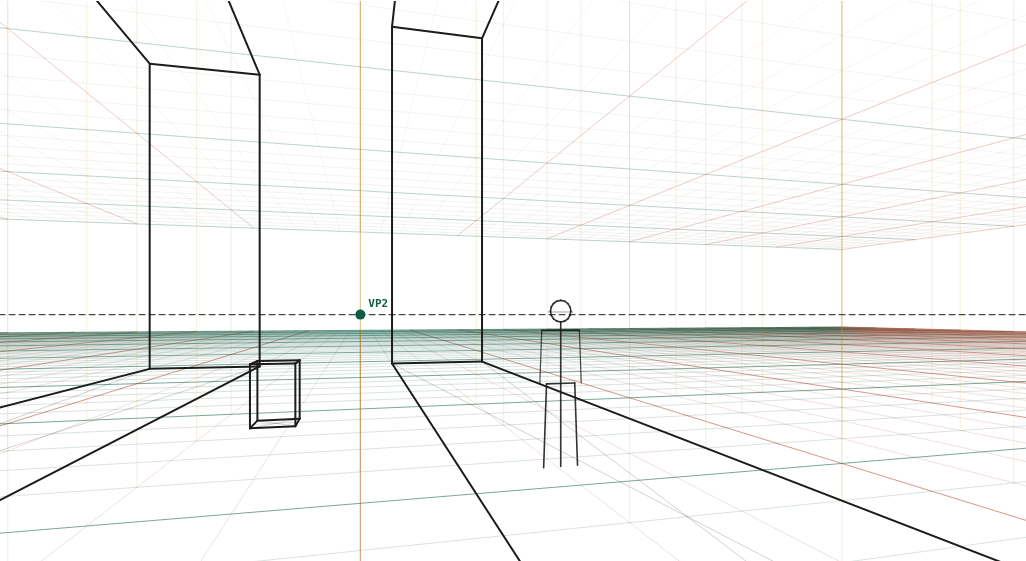 Narrow alley at 20 mm20 mm · camera 1.6 m · turned 15° · level
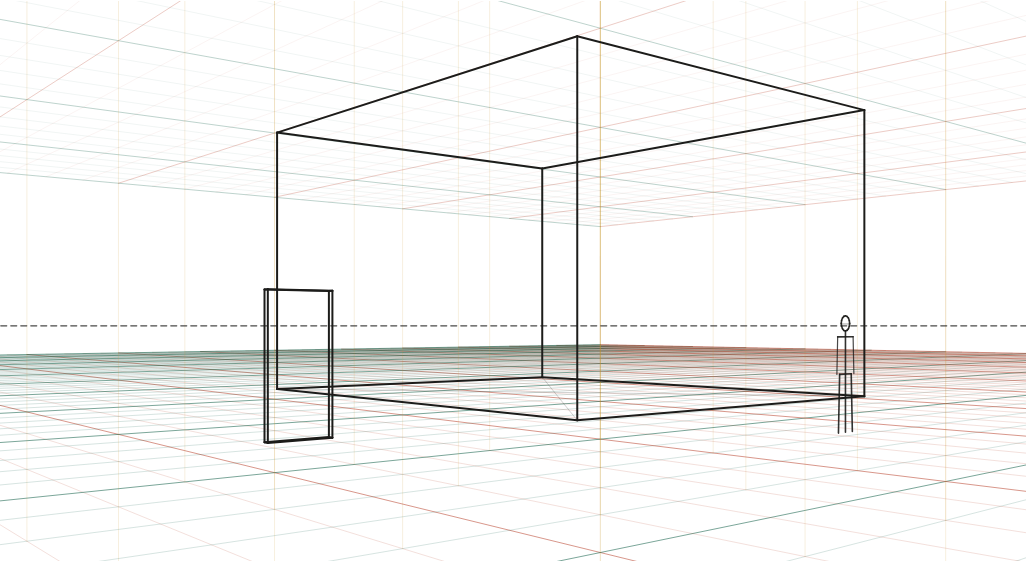 House from the corner35 mm · camera 1.6 m · turned 40° · level
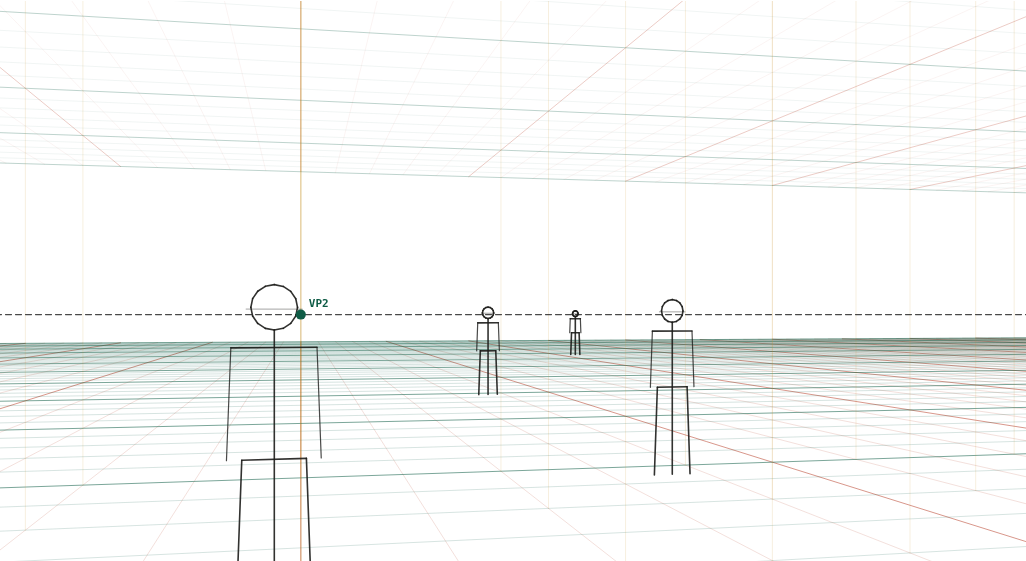 Figures at 5, 10, 20 and 40 m35 mm · camera 1.6 m · turned 12° · level
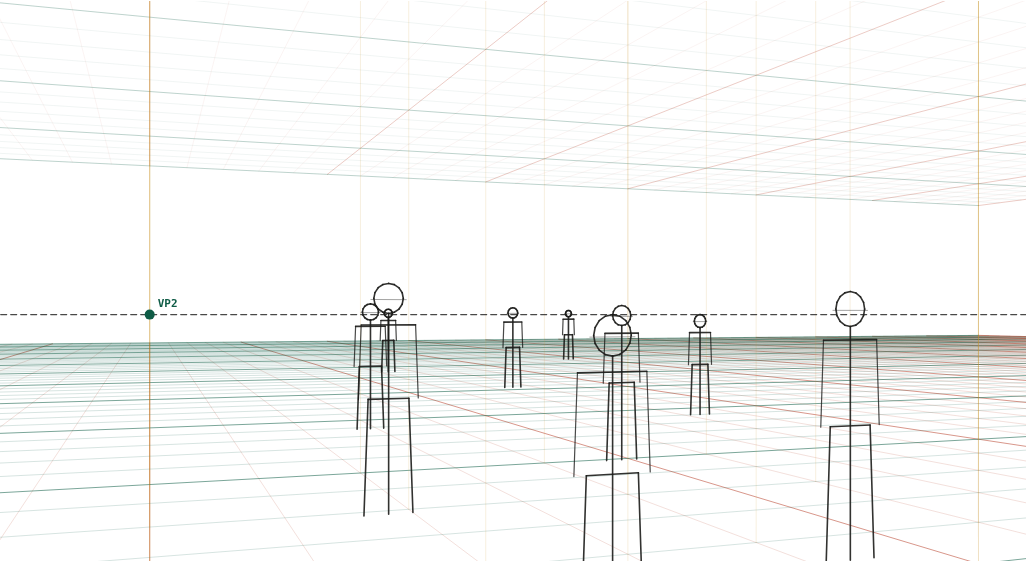 Crowd, standing camera35 mm · camera 1.6 m · turned 20° · level
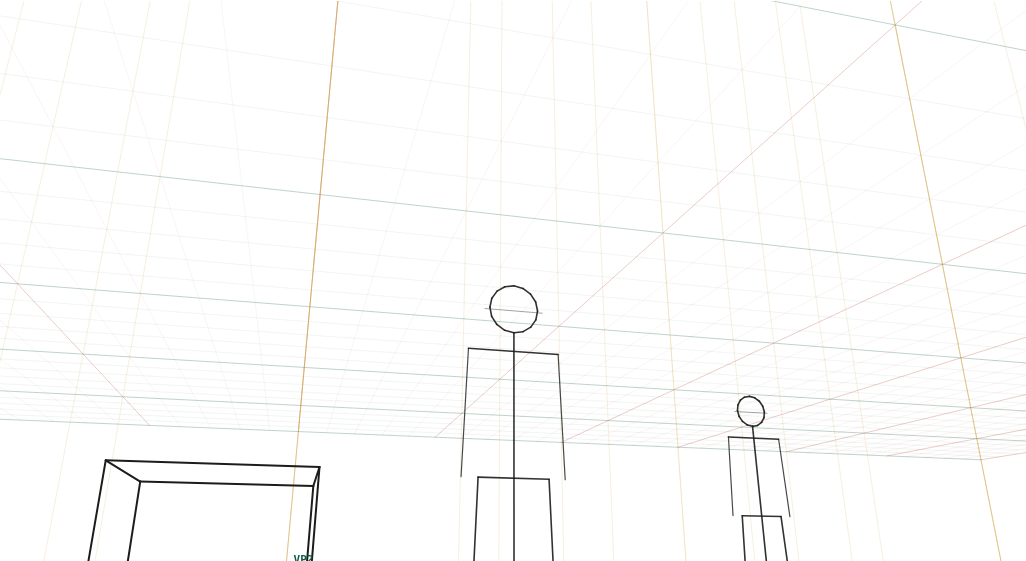 Figure from a low angle28 mm · camera 0.5 m · turned 15° · tilted up 20°
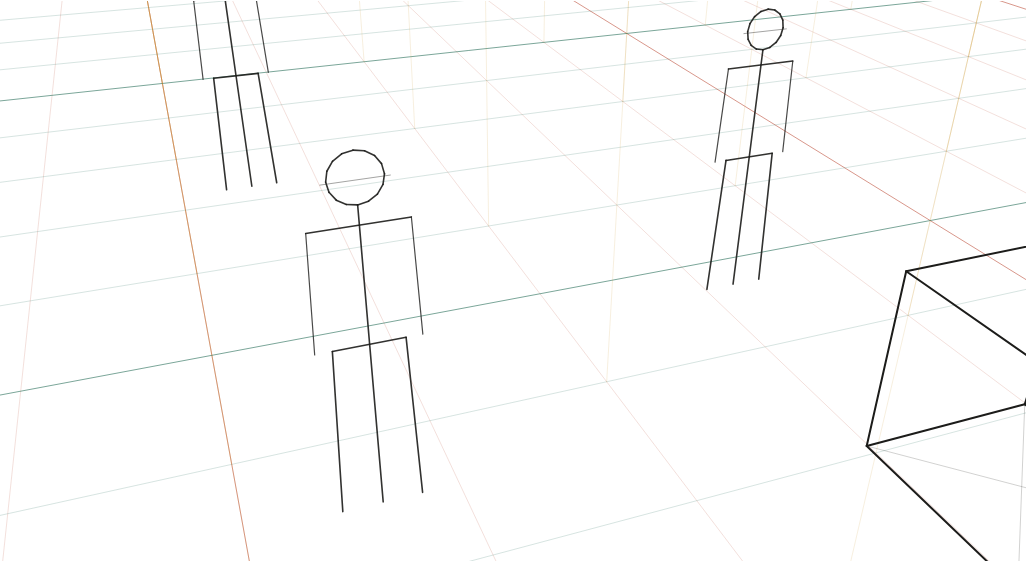 Figures from above35 mm · camera 3.2 m · turned 20° · tilted down 30°
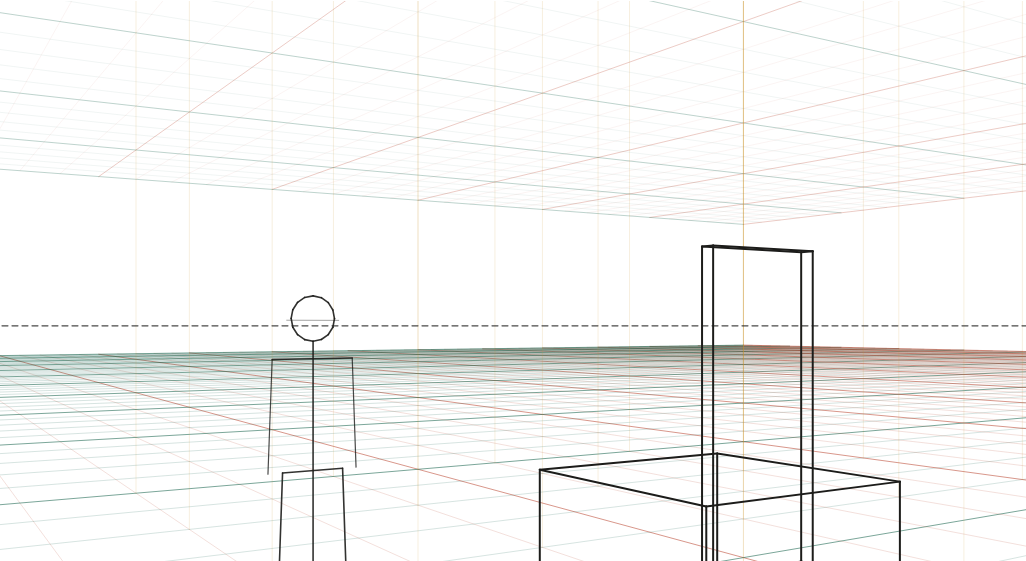 Figure, door and crate35 mm · camera 1.6 m · turned 32° · level
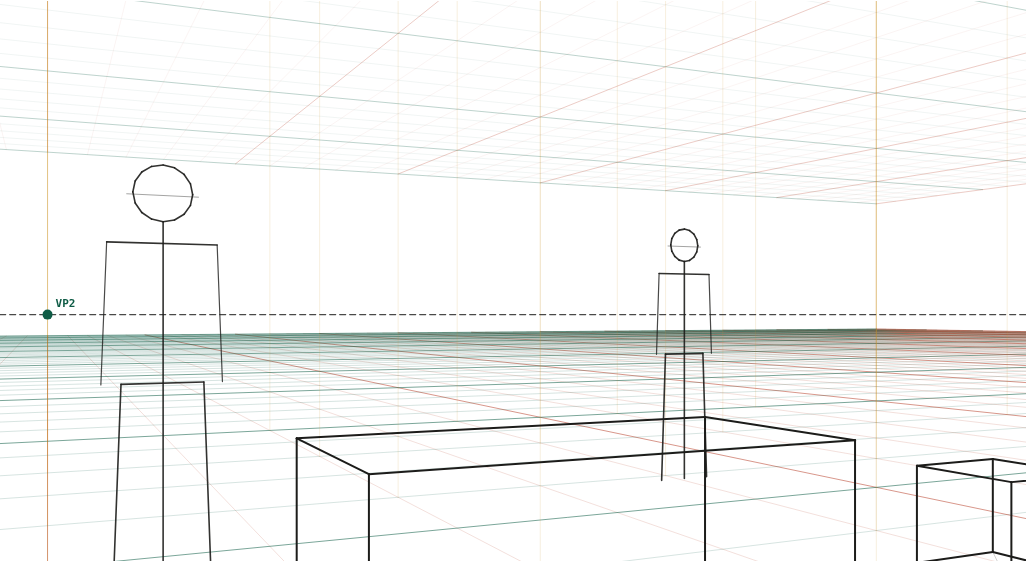 Seated eye level35 mm · camera 1.15 m · turned 25° · level
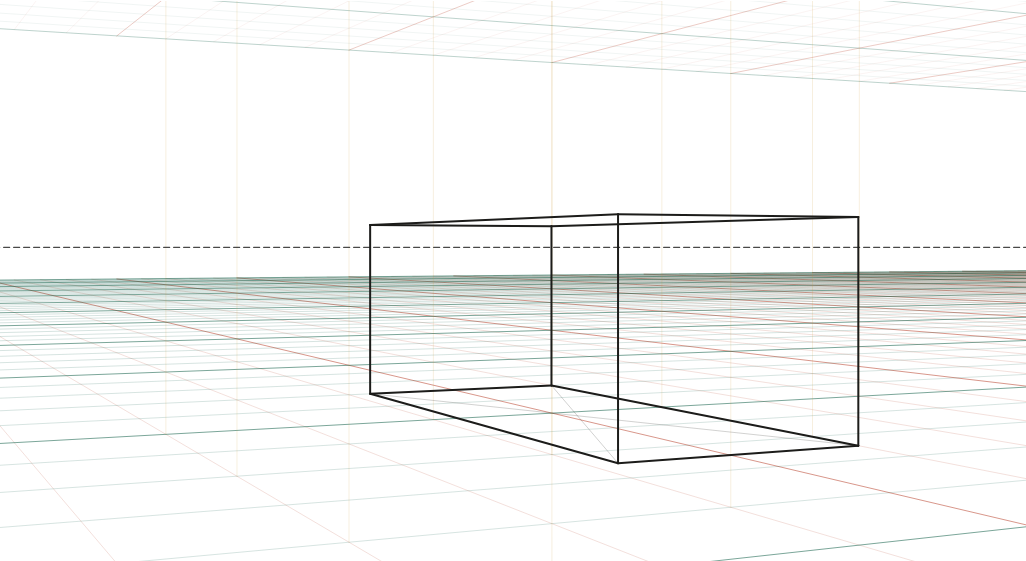 Car box, three-quarter, 50 mm50 mm · camera 1.3 m · turned 25° · level
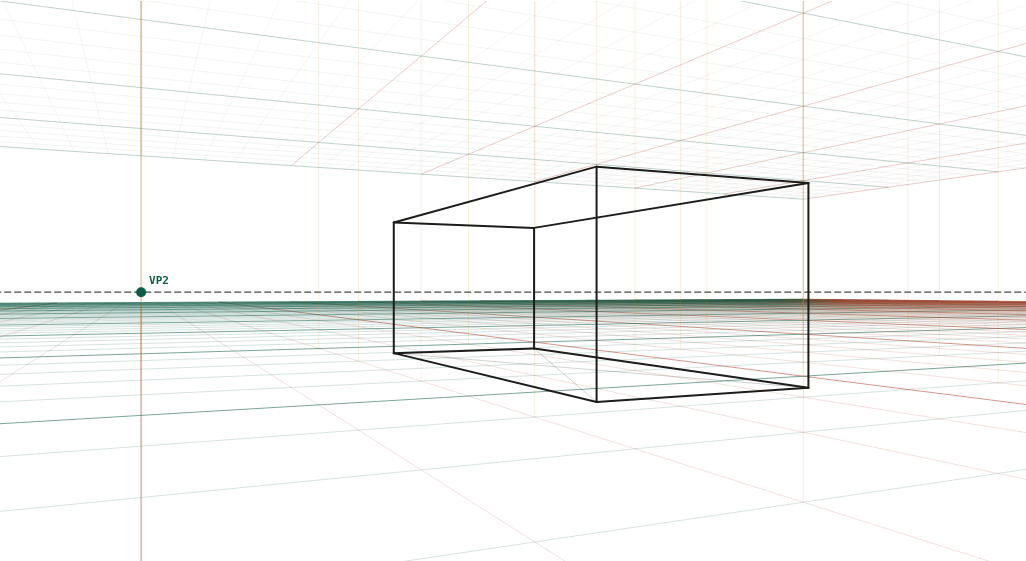 Car box, hero angle, 28 mm28 mm · camera 0.7 m · turned 25° · level
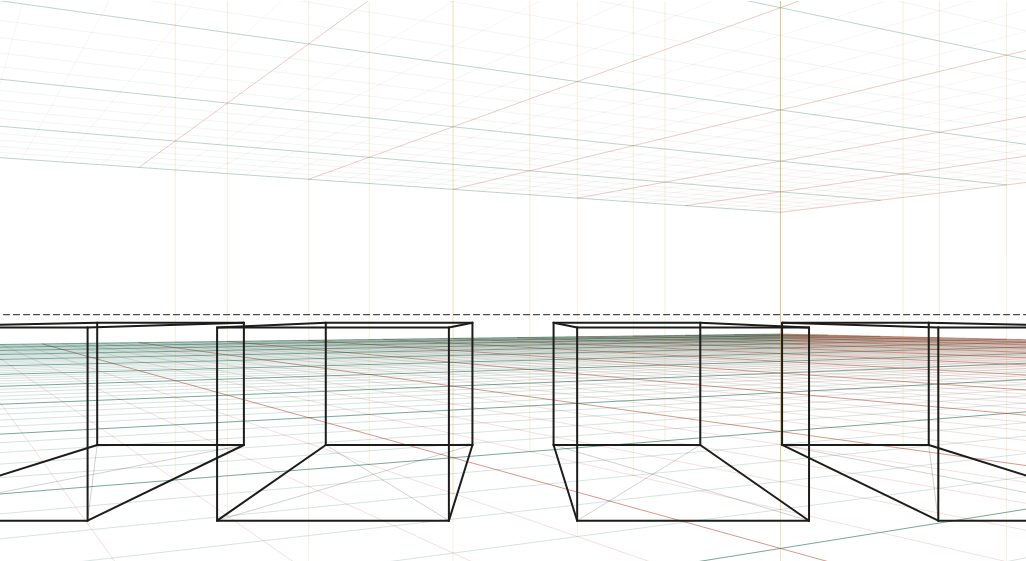 Parked cars, side by side35 mm · camera 1.6 m · turned 30° · level
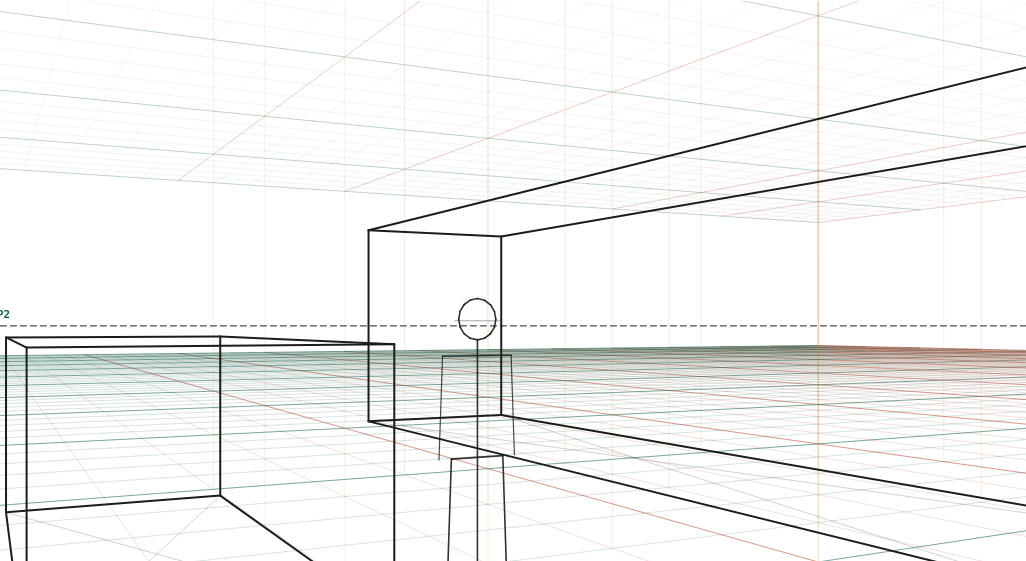 Bus and car35 mm · camera 1.6 m · turned 28° · level
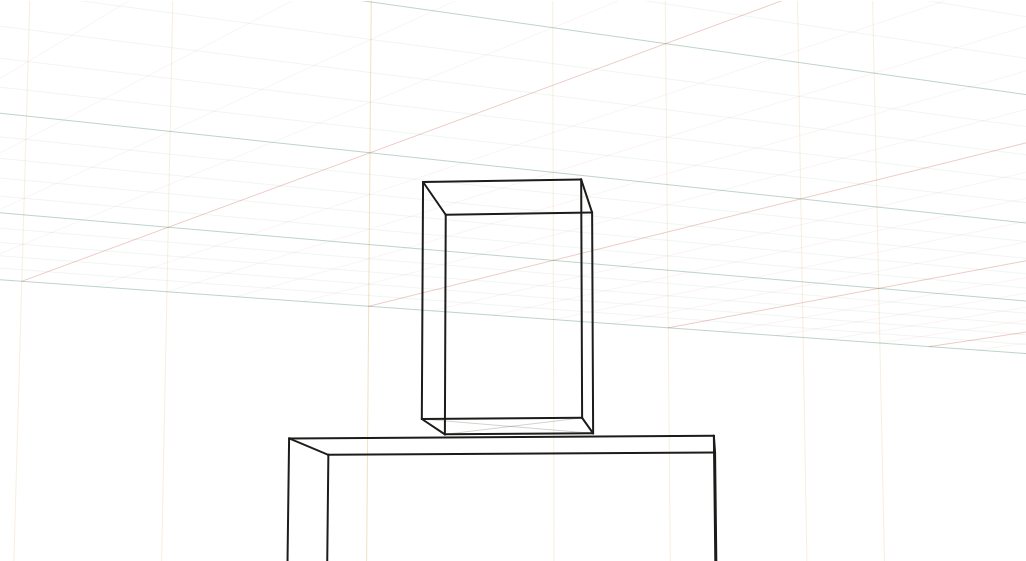 Head box from below85 mm · camera 1.3 m · turned 30° · tilted up 8°
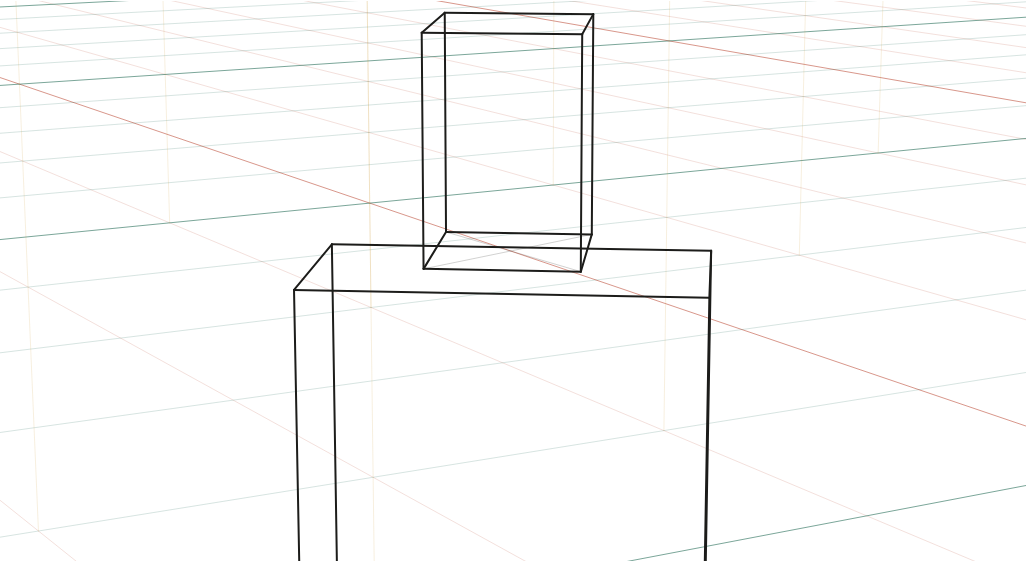 Head box from above85 mm · camera 2 m · turned 30° · tilted down 12°
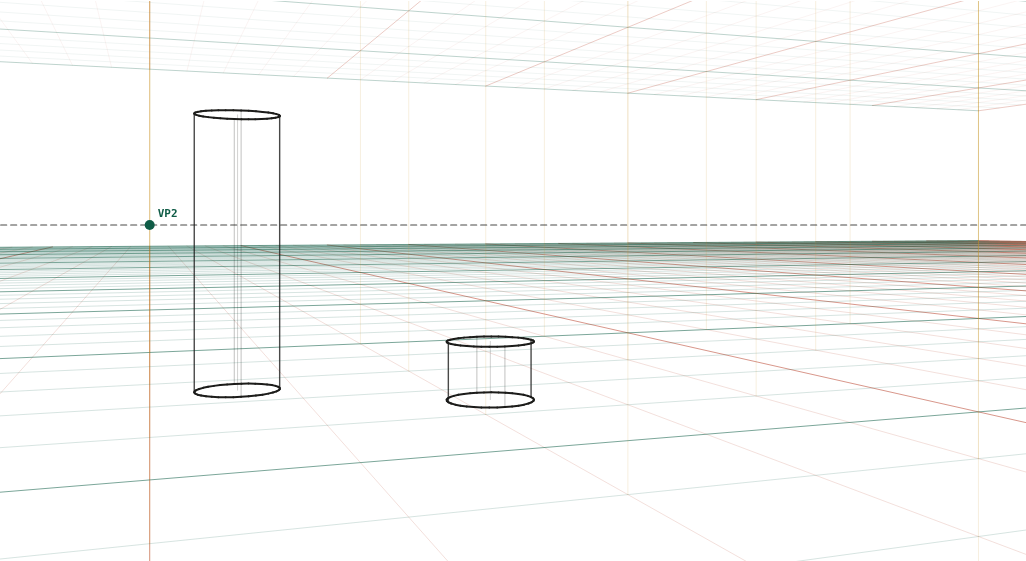 Cylinders at three heights35 mm · camera 1.2 m · turned 20° · level
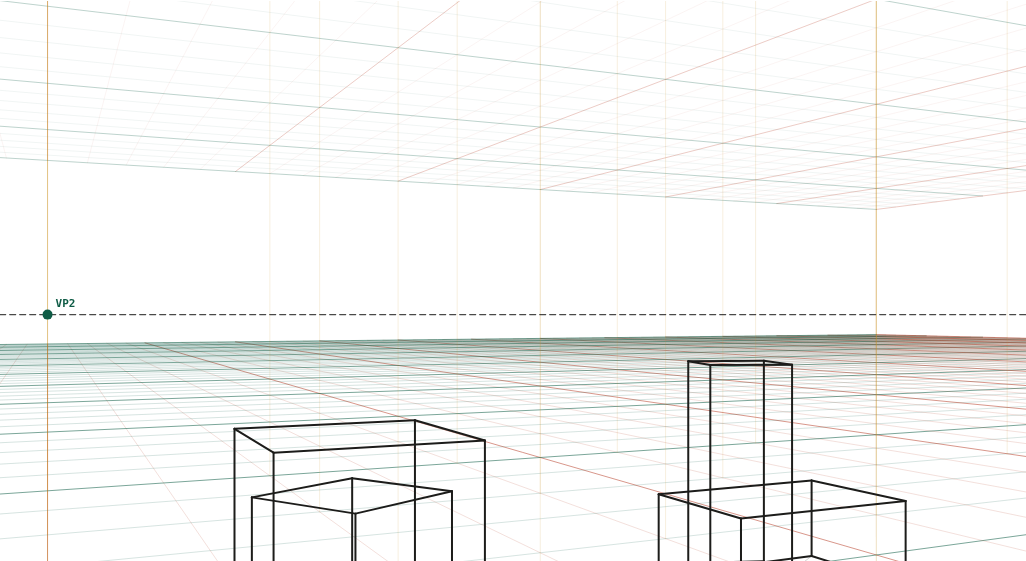 Stacked and rotated boxes35 mm · camera 1.6 m · turned 25° · level
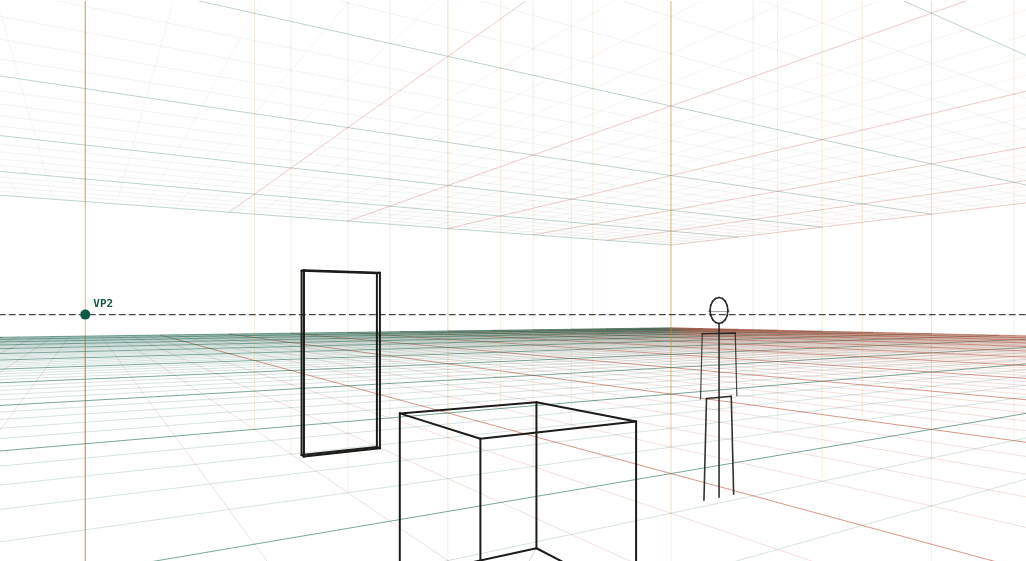 Same scene, 24 mm24 mm · camera 1.6 m · turned 32° · level
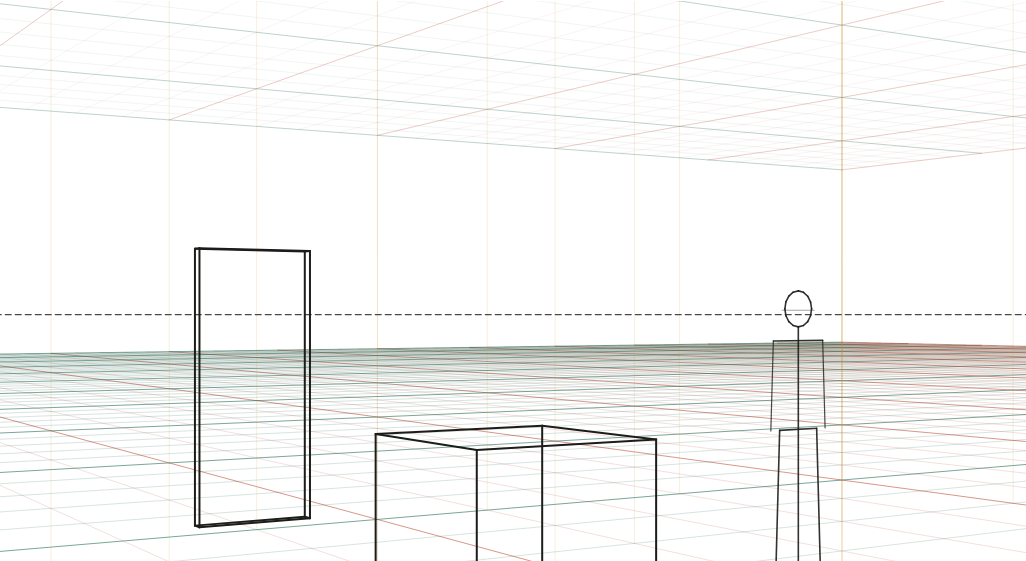 Same scene, 50 mm50 mm · camera 1.6 m · turned 32° · level
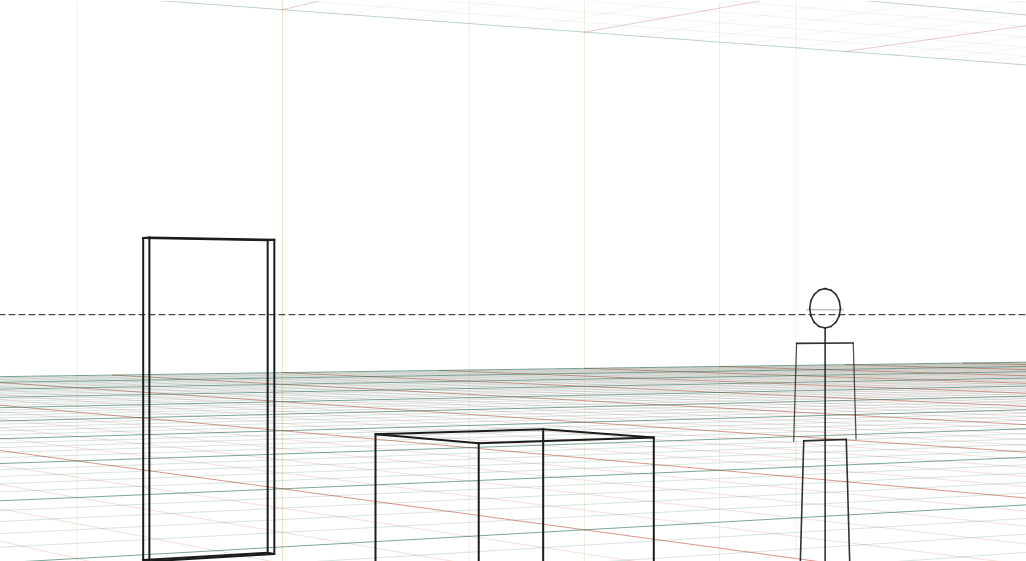 Same scene, 85 mm85 mm · camera 1.6 m · turned 32° · level
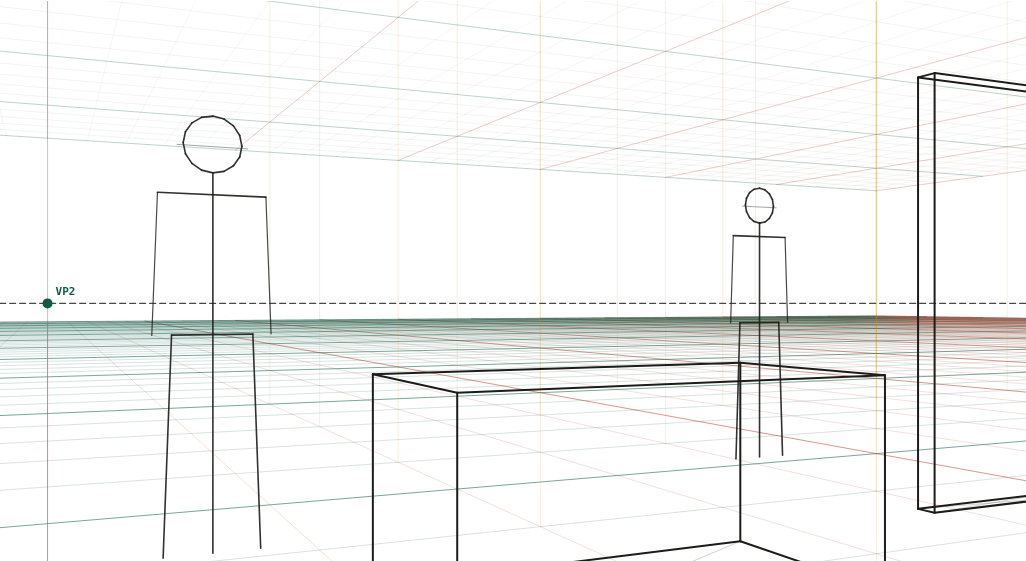 Child's eye level, 1.0 m35 mm · camera 1 m · turned 25° · level
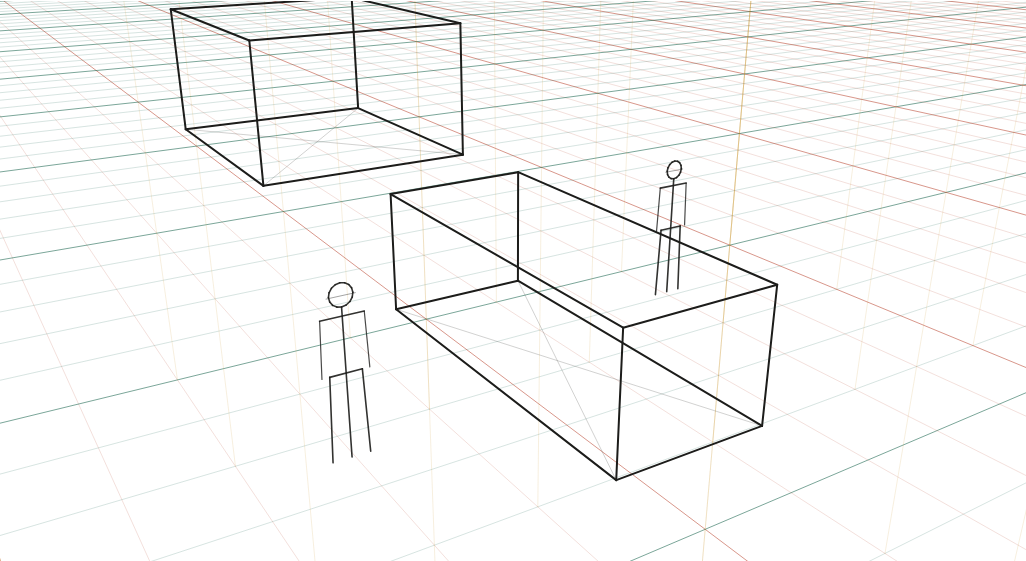 Balcony, 5 m up35 mm · camera 5 m · turned 32° · tilted down 22°
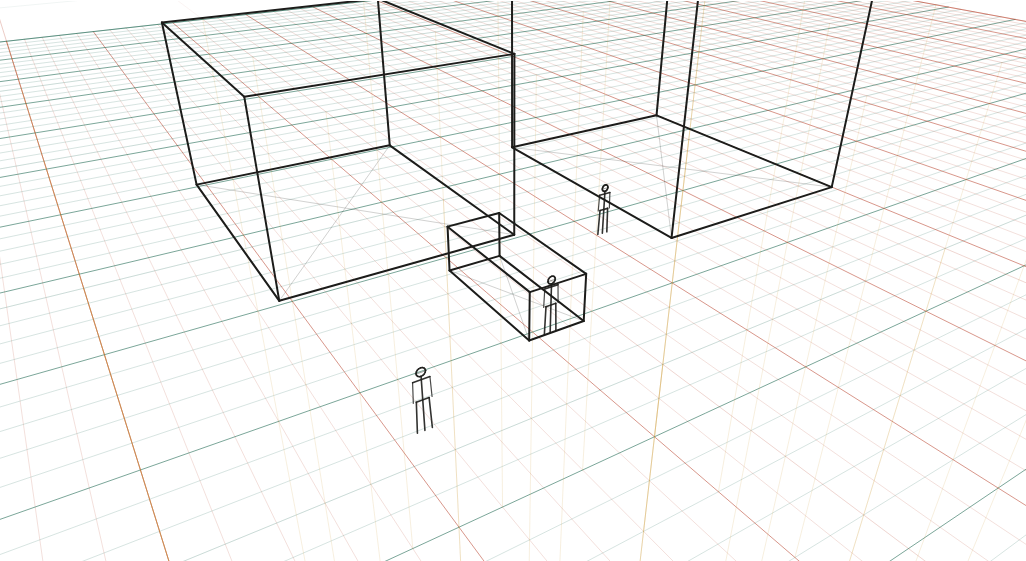 Rooftop, 12 m up28 mm · camera 12 m · turned 32° · tilted down 30°
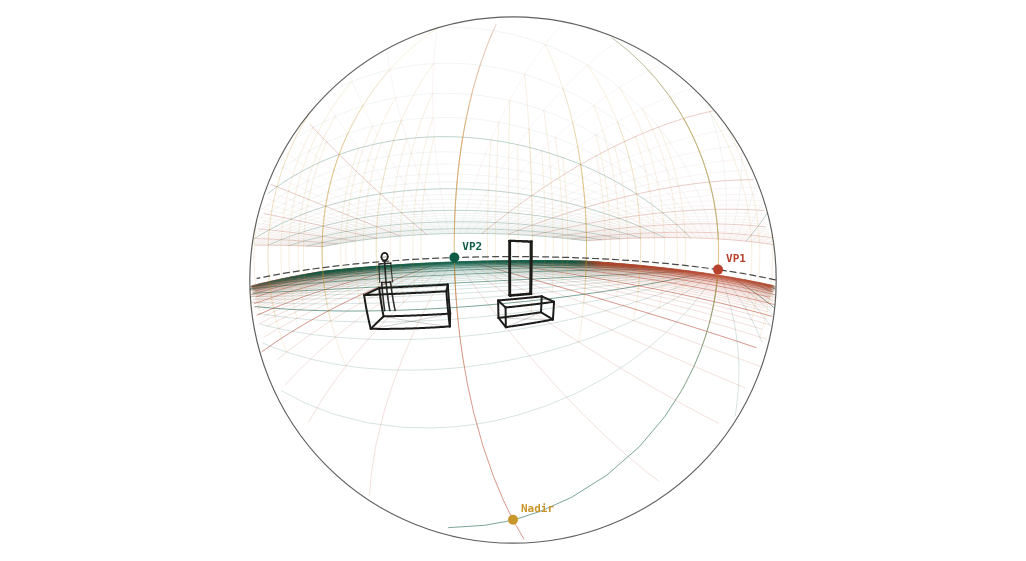 Room in fisheye180° view · camera 1.5 m · turned 20° · tilted down 8°
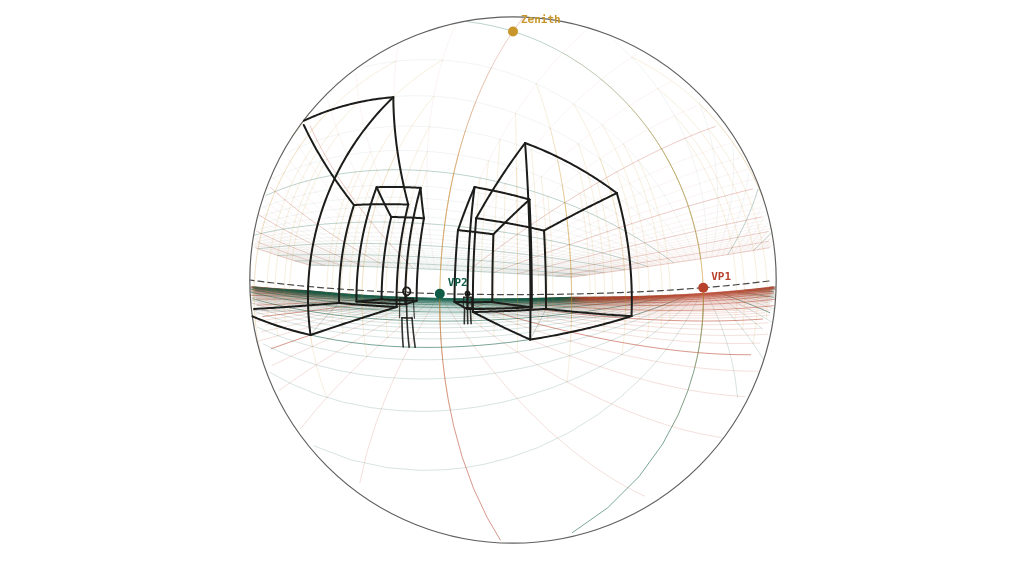 Street in five-point180° view · camera 1.6 m · turned 25° · tilted up 5°
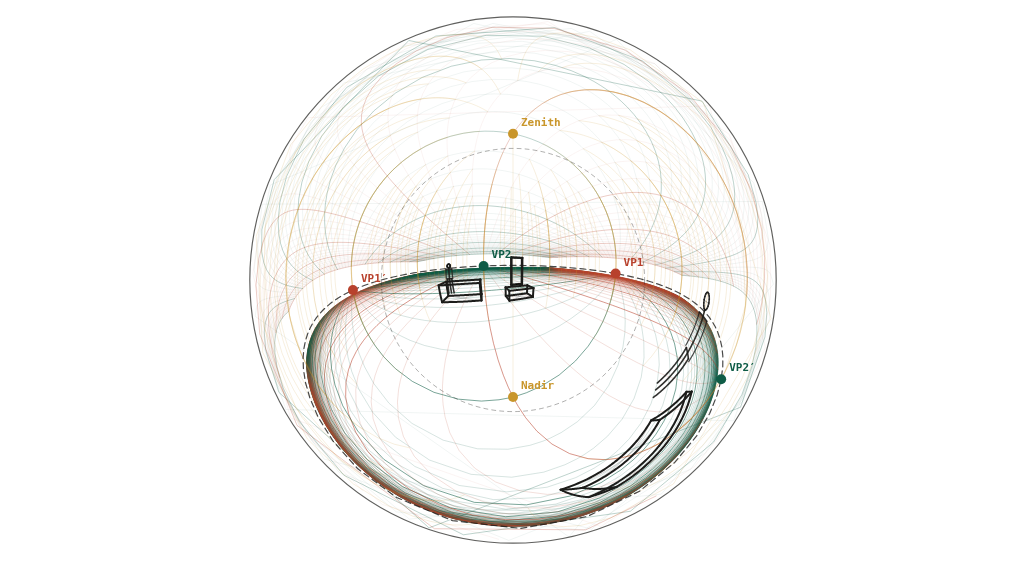 Room in six-point, 360°360° view · camera 1.5 m · straight on · level
Two hundred and fifty-two more, in one download.
The 36 scenes above stay free. The Perspective Reference Pack is 252 of them — seven groups covering rooms, streets, figures and crowds, vehicles, boxes and heads, a lens-and-camera-height study, and curvilinear scenes to 360° — at 4096 × 2304 transparent PNG, with the lens, camera height, rotation and tilt written into every file name, a catalogue PDF to find a scene without opening folders, and the camera data as CSV and JSON. The free starter has 20 scenes with the same catalogue and data.
How to use a reference
Pick the scene closest to what you are drawing and read its camera line first: the lens, the camera height and the angle are the three decisions that make a drawing look photographic or not, and they are decided before the first line. Then open it in the tool, drag the view to your framing, and export a transparent PNG to draw over, or simply keep it open in another window while you draw and check your horizon, your convergence and the size of your figures against it.
The floor is always one-metre squares and every object is a real size: doors are 2.1 m, figures 1.75 m unless labelled, cars 4.5 × 1.8 × 1.5 m. That is what lets you measure across references: a figure at 10 m in one is the same size as a figure at 10 m in any other drawn with the same lens.
For the theory behind what you are looking at, the perspective basics page defines every term, and each reference links to the lesson that uses it. For paper, the same scenes are in the printable grids.
Questions
What is a perspective reference?
A picture you draw from or check against to get the perspective of a scene right: where the horizon is, how strongly lines converge, how big a figure is at a given distance. Photographs work but hide their camera settings; these references show them, so you can copy the exact lens and height into your own drawing.
Why are the references line drawings rather than photos?
Because a line drawing shows the construction. Every reference here is rendered from the site's camera model with a stated lens, camera height, rotation and tilt, the floor is one-metre squares and every object has real dimensions. There is nothing to guess, and you can open any of them in the tool and move the camera.
Can I use these references in my own work?
Yes. Draw over them, trace them, put them under a layer in Procreate or Photoshop, use them in classes and in client work, no credit needed. Redistributing the images as a pack of their own is the one thing not allowed.
How do I get a reference that is not here?
Open the nearest one in the tool, then change what you need: the lens, the camera height, the rotation, or add boxes, cylinders and figures at real sizes with the box generator. The share link keeps your version. If a reference is missing that many people would want, email and it will be added.
A new lesson and a new grid, about once a month.
Each lesson arrives by email before it goes on the site, with the grid it was drawn on and the link to open it. Subscribers also get both free starter packs and the subscriber price on the paid ones. Never more than two emails a month; one click to leave.
Handled by Kit on our behalf. Your address is used for this letter and nothing else — see the privacy page.