 by
by Photoshop Perspective Warp is the tool Adobe added for exactly one job: re-angling the planes of a photographed object. It can straighten a leaning building, make a box face the camera, and change the apparent viewpoint of an architectural shot by a few degrees without cutting anything out. It is also the Photoshop feature most often reported as "greyed out", which is the second half of this guide. Adobe's reference page is Perspective Warp in the Photoshop user guide.
Perspective Warp is an Edit-menu command (Edit → Perspective Warp) that works in two stages. In Layout mode you draw quadrilaterals over the planes of an object, snapping their shared edges together; in Warp mode you drag the corner pins, or press the automatic buttons, and Photoshop re-projects the pixels so the planes take up their new angles. It differs from Transform → Perspective in that it understands the object has more than one face.
Before you start
Perspective Warp shipped in Photoshop CC 14.2, January 2014, so CS6 and anything older simply do not have it: if the command is missing rather than greyed out, that is why. In any version since, it needs a pixel layer on an RGB document at 8 or 16 bits per channel, and it needs the graphics processor. Check Image → Mode (RGB Color, 8 or 16 Bits/Channel) and Preferences → Performance → Use Graphics Processor. If the image is a Background layer, double-click it in the Layers panel to convert it, or right-click → Convert to Smart Object if you want the warp to stay editable.
Step 1 — Layout mode: tell Photoshop where the planes are
Choose Edit → Perspective Warp. The options bar shows two buttons, Layout and Warp; Layout is active. Click and drag on the image to draw a quad, then drag its four corner pins onto the corners of one visible face of the object, for example the front of a building. The edges of the quad should run along the building's edges: the two verticals down its corners, the top along the roofline, the bottom along the ground.
Draw a second quad for the next face. As you drag its edge near the first quad's edge, it snaps and the two share that edge; a shared edge shows highlighted. Three quads cover a box seen from a corner (front, side, top). For a single wall, one quad is enough.
Precision here is the whole game. Zoom in (Ctrl/Cmd + space + click) and put each pin exactly on a corner; a pin ten pixels off produces a visible bend later. Hold Shift while dragging a pin to constrain it to a straight line along the edge.
Step 2 — Warp mode: straighten or re-angle
Click Warp in the options bar, or press W (L goes back to Layout; Enter commits, Esc cancels). Now the pins move the image. Three automatic buttons appear on the right of the options bar:
- Automatically straighten near-vertical lines — the one-click fix for a leaning building.
- Automatically level near-horizontal lines — for a tilted horizon or shelf.
- Automatically straighten vertical and horizontal lines — both at once.
For most architectural shots, the first button does the job. Look at the result: if the building now looks too tall (it often does, because a tilted camera also foreshortened the façade), drag the top pins down a little, or use Edit → Free Transform afterwards to scale the height.
To re-angle rather than straighten, ignore the buttons and drag the pins. Because the quads are joined, moving the shared edge turns the whole box: you can make a building face the camera more squarely, or turn a product box to show more of its side. Shift-click an edge to lock it vertical or horizontal while you move others.
Press Enter (or the tick) to commit. Transparent wedges appear at the canvas corners where pixels were pulled inward; crop them, or fill with Edit → Content-Aware Fill.
Why Perspective Warp is greyed out, in order of likelihood
The short list is below; the dedicated greyed-out page has all seven causes including linked layers, laptops on battery, the View > Extras quirk and the VRAM minimum.
1. Wrong colour mode or bit depth. The command is disabled for CMYK, Lab, Grayscale, Indexed, Multichannel, and for 32-bit images. Image → Mode → RGB Color, and 8 or 16 Bits/Channel. Convert, apply the warp, convert back if you need CMYK for print.
2. No usable layer selected. A Background layer works in recent versions, but a locked layer, a group, a text layer, a shape layer or an adjustment layer does not. Select a pixel layer, or rasterise (Layer → Rasterize) the one you want to warp. Smart Objects work; if yours does not, its contents are not RGB 8/16-bit.
3. Graphics processor off. Preferences → Performance → tick Use Graphics Processor, then restart Photoshop. Perspective Warp is one of the features that will not run on the CPU at all.
4. GPU not supported or driver blocked. In the same Performance panel, click Advanced Settings; if the panel says the GPU is unavailable or lists it in red, update the graphics driver from the manufacturer (not Windows Update), or check Adobe's GPU FAQ. On a laptop with two GPUs, force Photoshop onto the discrete one in the operating system's graphics settings.
5. A selection is active in Quick Mask, or you are inside another transform. Press Esc, Select → Deselect, and try again.
Perspective Warp versus the other three Photoshop perspective tools
Transform → Perspective moves opposite corners symmetrically. Faster for a keystone or for skewing a poster onto a wall, useless for a building with two faces. Perspective Crop straightens and crops a single plane in one step; the right choice for documents and paintings. Vanishing Point is for painting and cloning inside a plane, not for reshaping it. The overview of Photoshop's perspective tools compares all four.
Doing it without Photoshop
A four-corner correction of a single plane can be done in the browser with the perspective correction tool, at full resolution, without uploading the image. It does not handle multi-plane warps, which is where Perspective Warp earns its keep.
What Perspective Warp does not give you
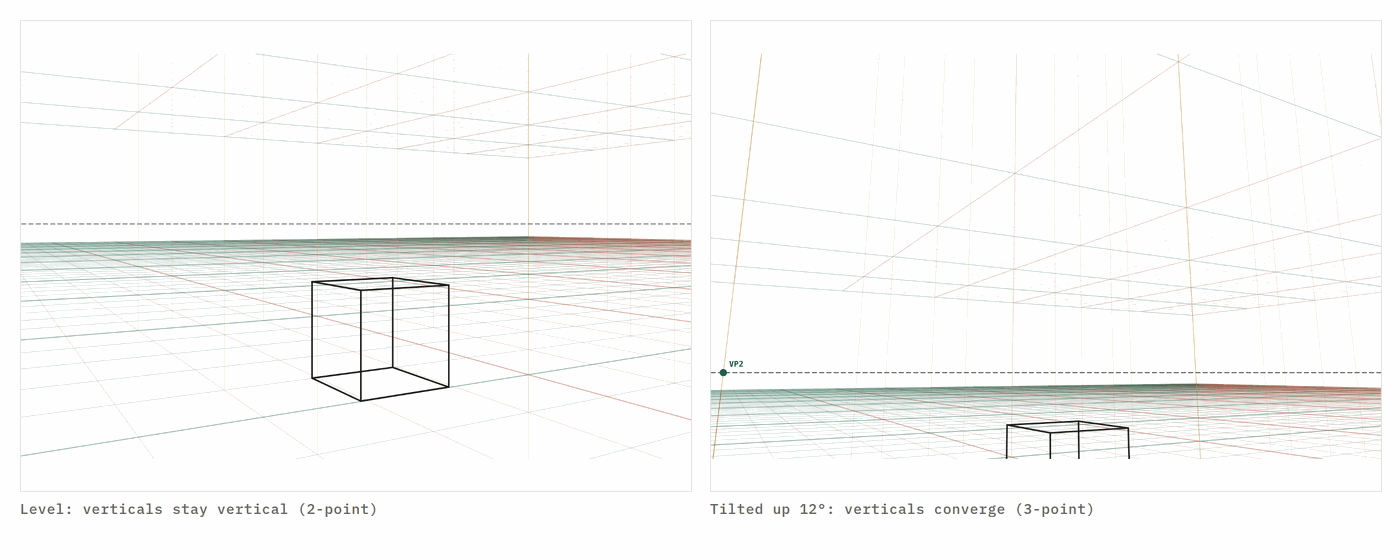
A grid to draw on. The grid you see in Layout mode disappears when you commit. To paint a new object into the corrected photograph with the right convergence, read the lens and tilt off the photo with the vanishing point finder, open the 3-point grid at the same settings, and drag the exported PNG into Photoshop as a 30%-opacity layer.
Where to go next
Photoshop perspective tools overview · Photoshop Perspective Crop · Photoshop perspective grid · Fix perspective in Affinity
Questions
Why is Perspective Warp greyed out in Photoshop?
Almost always one of four things: the image is not 8- or 16-bit RGB, the layer is a Background layer or a Smart Object you have not rasterised, the graphics processor is switched off in Preferences → Performance, or the GPU is too old or its driver is blocked. Fix those in that order.
Where is the Perspective Warp tool in Photoshop?
Edit → Perspective Warp. It is a menu command, not a toolbar tool, and it only becomes available when a pixel layer is selected on an RGB, 8- or 16-bit document with the GPU enabled.
What is the difference between Perspective Warp and Free Transform → Perspective?
Free Transform → Perspective moves the corners of the whole layer symmetrically, which is enough for a keystone fix. Perspective Warp lets you define the actual planes of an object and re-angle them independently, which is what you need to straighten a building or turn it a few degrees.
Is there a keyboard shortcut to switch between Layout and Warp mode?
Yes: with Perspective Warp active, press L for Layout and W for Warp, so you can pin planes and re-angle them without going back to the options bar. Enter commits the warp and Esc cancels it. There is no default shortcut for opening Perspective Warp itself; assign one under Edit → Keyboard Shortcuts if you use it often.
Can I use Perspective Warp on a Smart Object?
Yes in current versions: it is applied as a non-destructive warp you can re-edit by double-clicking. If it is greyed out on a Smart Object, the source is not RGB 8/16-bit, or the GPU is off.
Does Perspective Warp add a perspective grid to draw on?
No. It shows a grid while you edit, but nothing is written to the document. For a grid to draw over, generate one with the 3-point grid tool and drag the PNG into Photoshop as a layer.
A new lesson and a new grid, about once a month.
Each lesson arrives by email before it goes on the site, with the grid it was drawn on and the link to open it. Subscribers also get both free starter packs and the subscriber price on the paid ones. Never more than two emails a month; one click to leave.
Handled by Kit on our behalf. Your address is used for this letter and nothing else — see the privacy page.